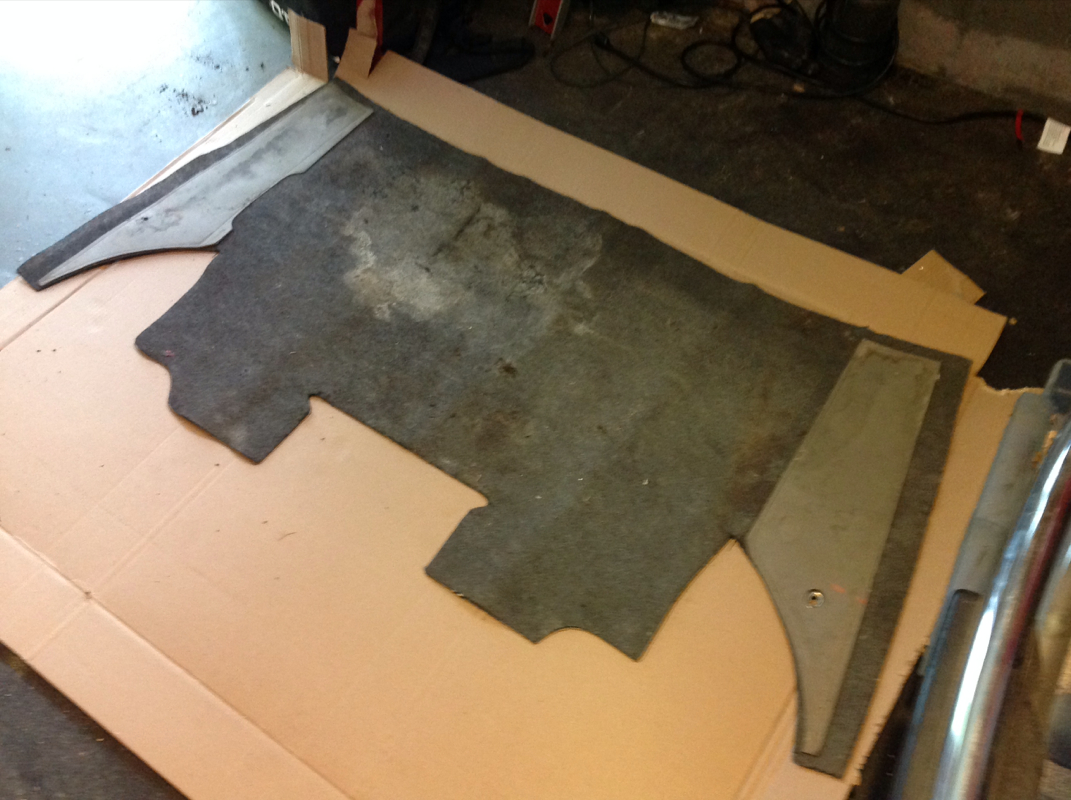
First I started out by tracing my rug onto a large piece of cardboard. Make sure you mark whee the flaps fold up.
| 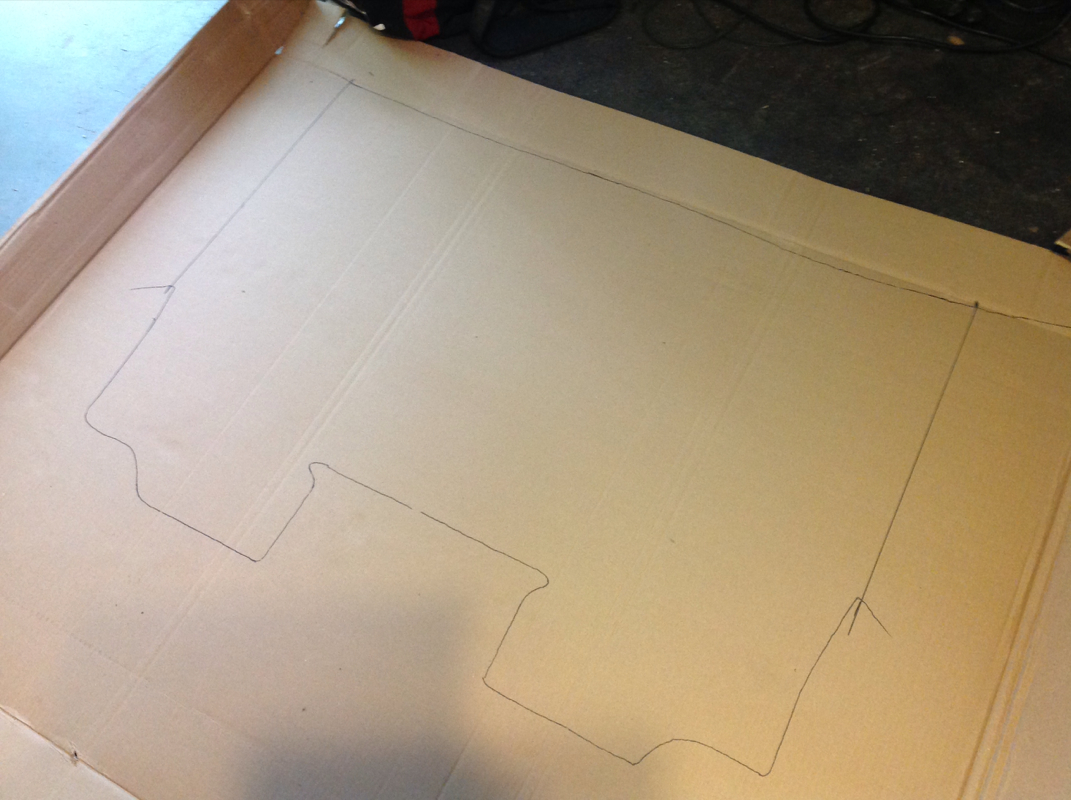
Here we have the basic outline.
|
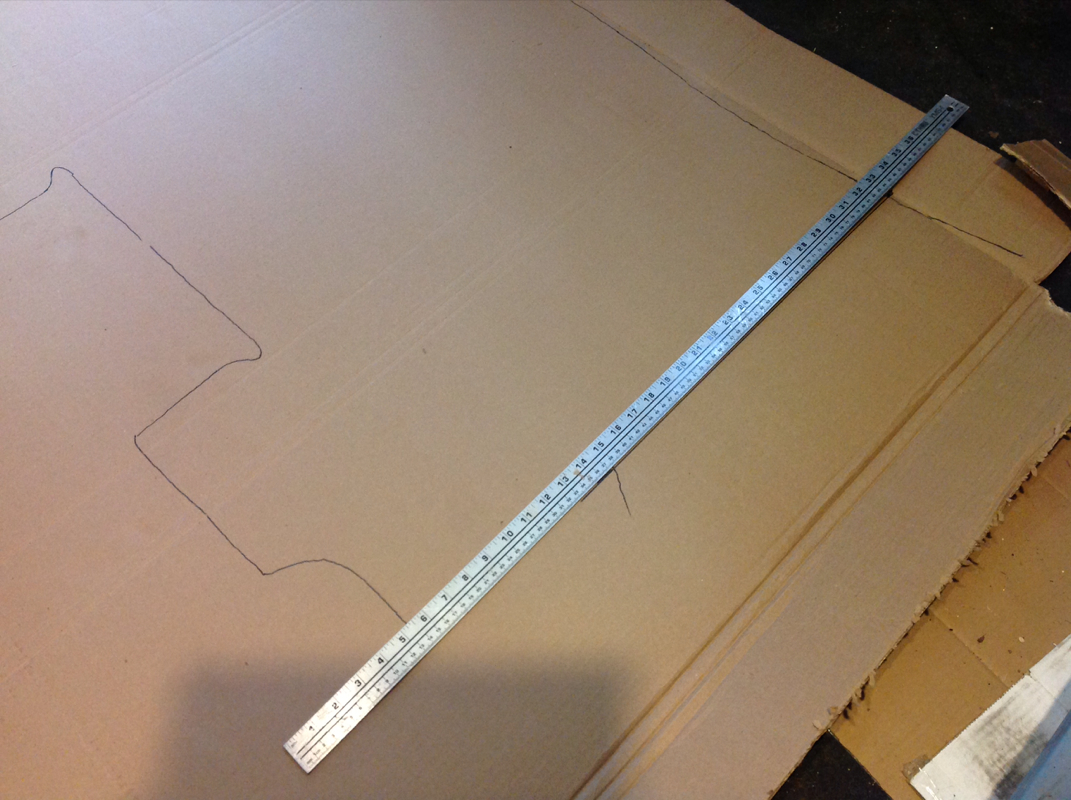
I used the marks from the fold marks and connected them using a yard stick.
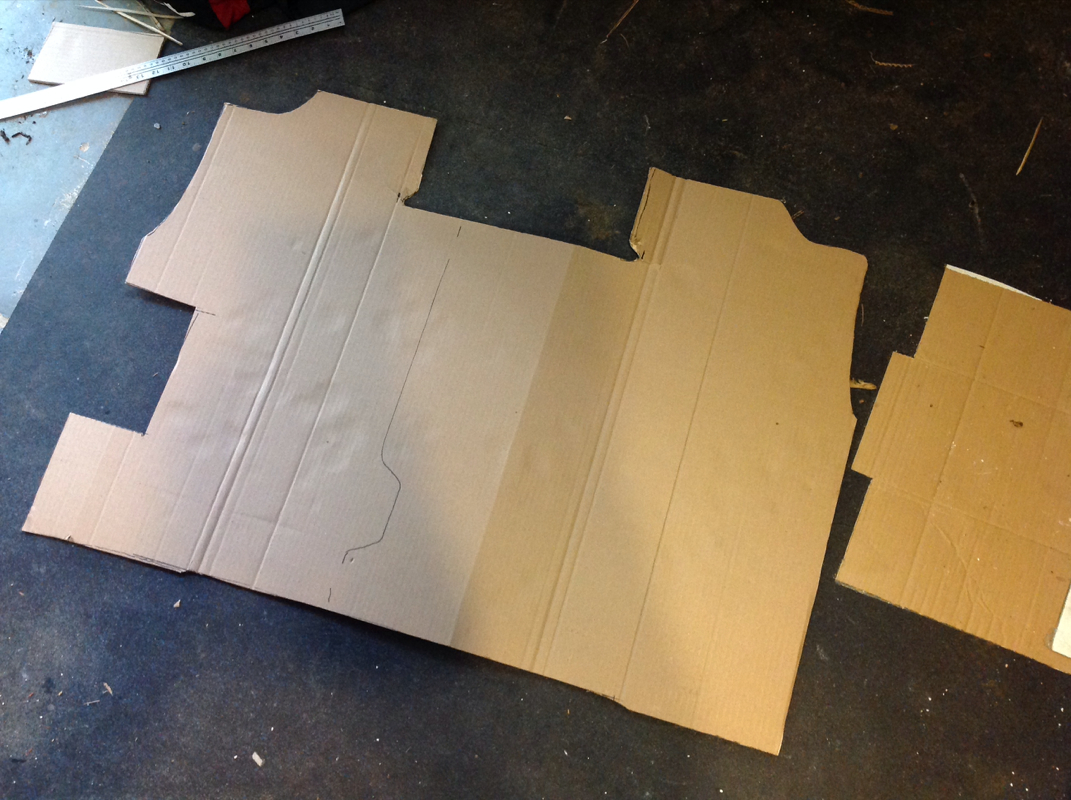
Once the basic outline was in place I cut out the template in preparation for trunk fitting.
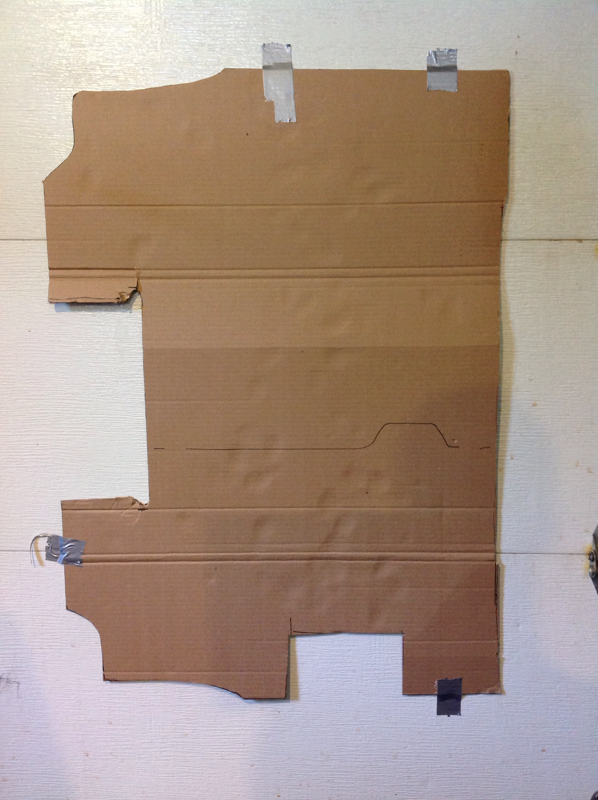
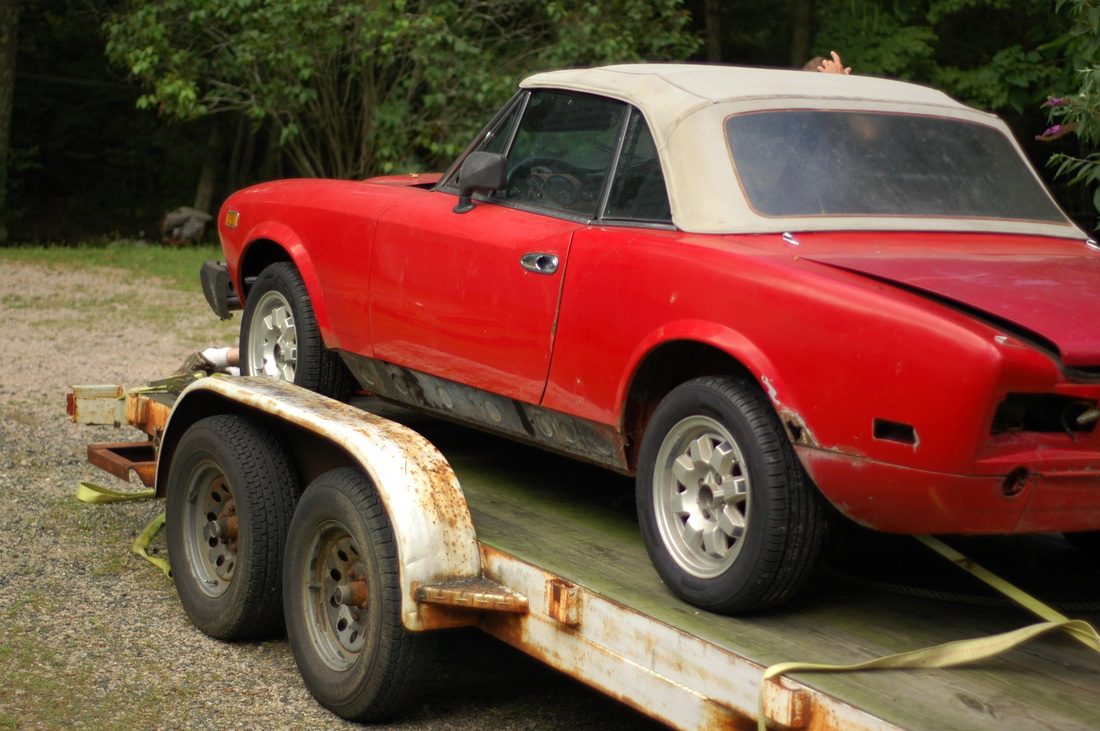
I did some test fitting and adjusted some of the template lines. The template should fit most Fiat Spiders. I have a Fiat Spider 2000 and I'm not sure how the earlier models differed, if at all.
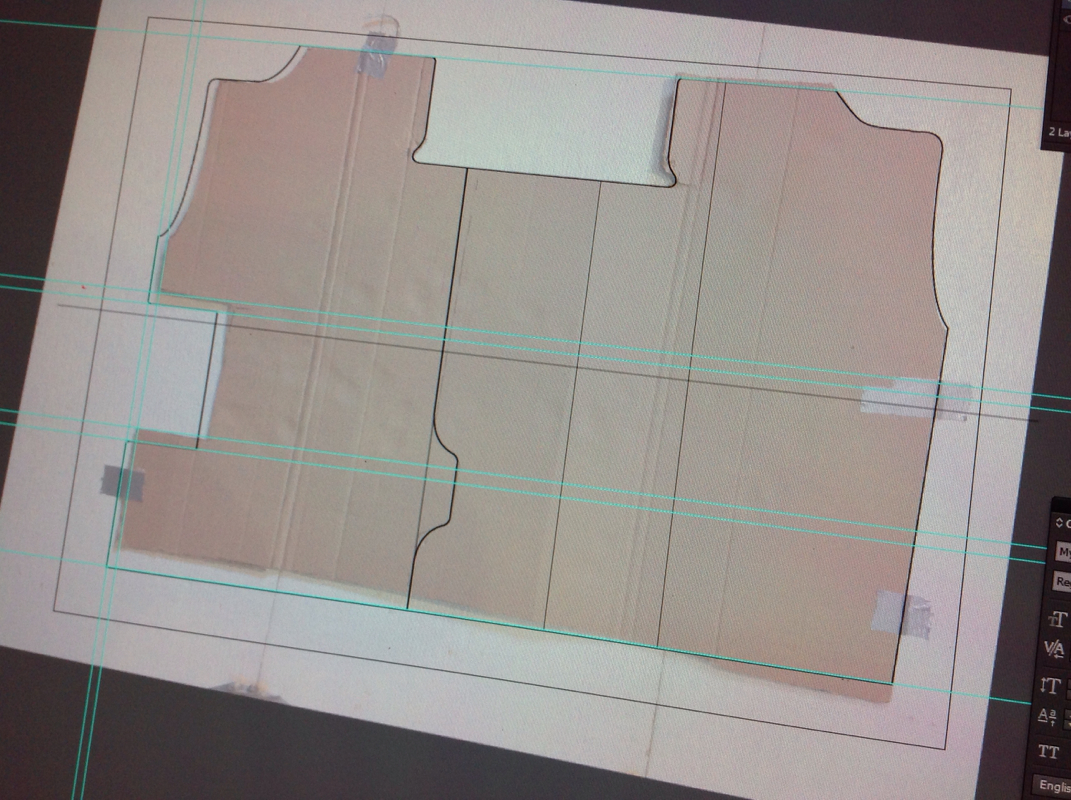
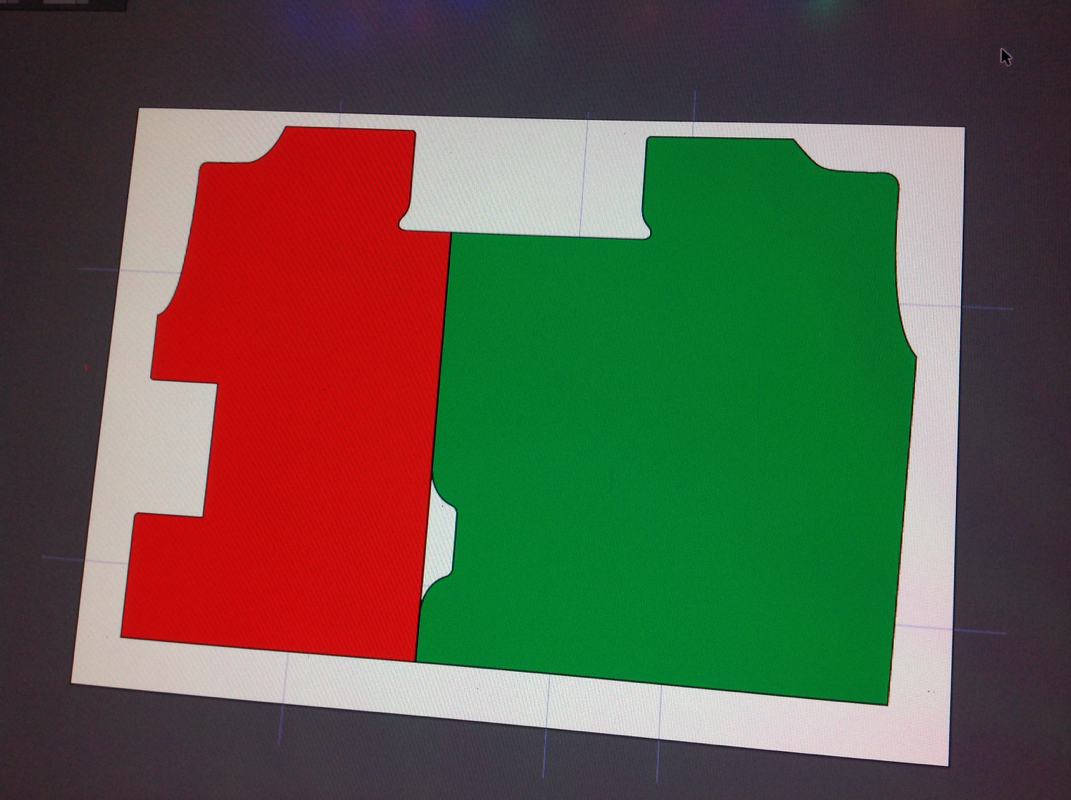
After taking a digital photo of my template I was able to import it into a graphics program. I used the program to outline the template as best as possible.
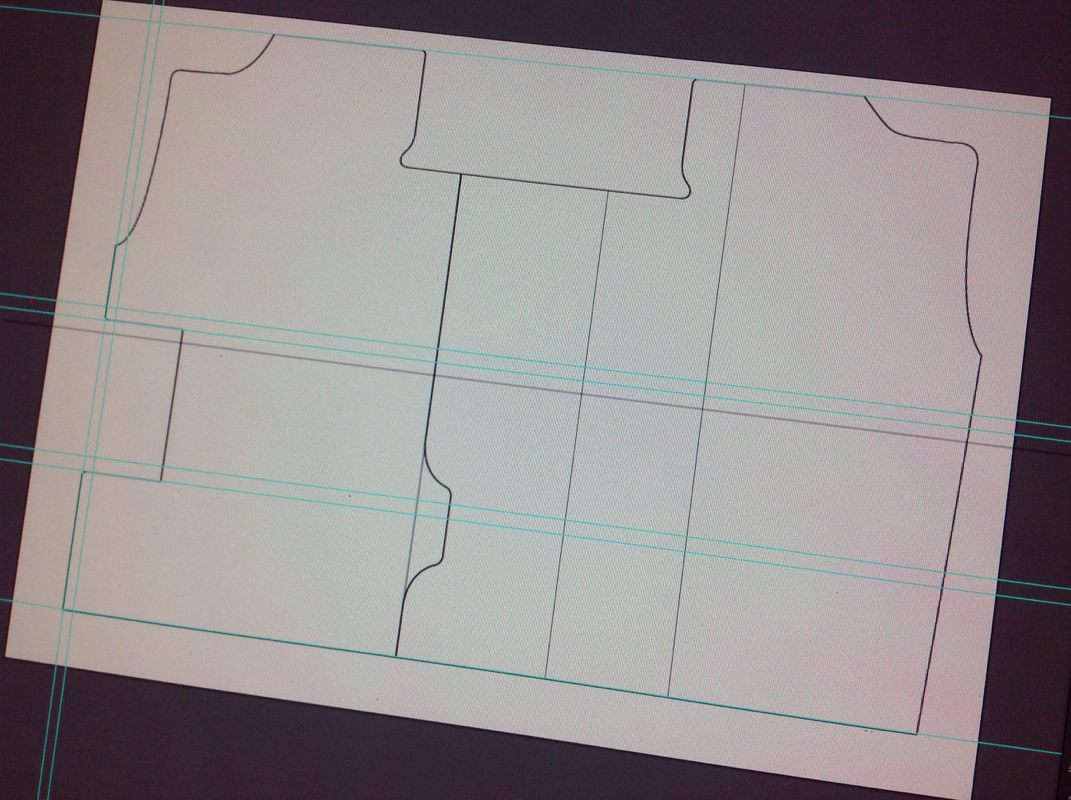
Here is the cleaned up file ready for print.
I printed out the template in two pieces on my large format printer. I had to do some tweaking and then fix some issues in the template computer file.
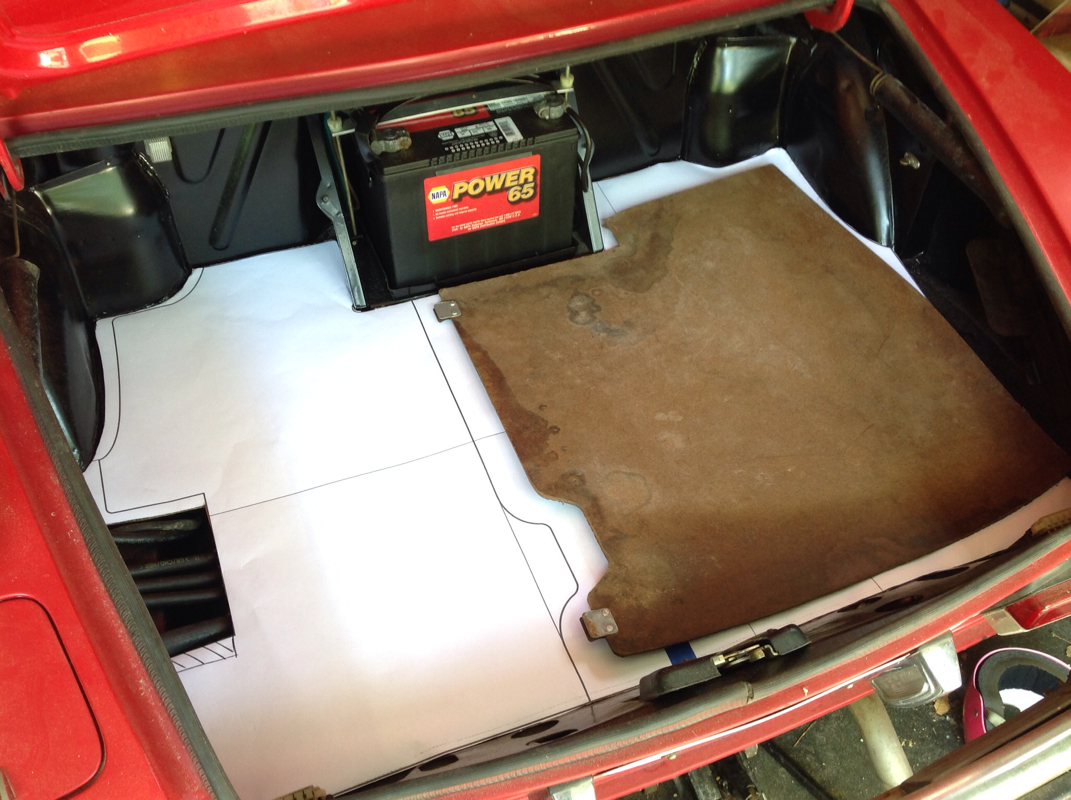
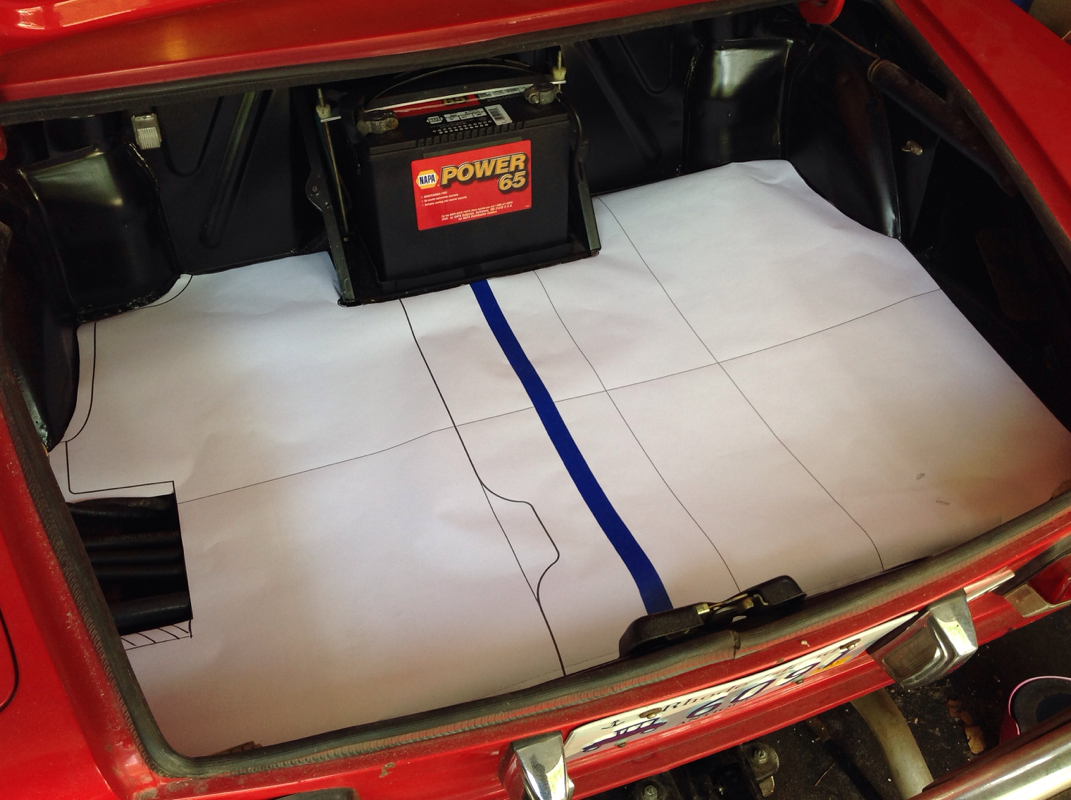
Here is a comparison between the original template (that brown board on the right) and the template I made. As you can see, the original boards only covered up the spare tire hole. This template gives more coverage and should allow people to make themselves a nice upholstered bottom board or rest their factory run on top.
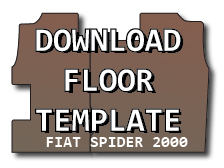
The final file with all the tweaking will be available for download. I'm sorry I do not have templates for the "wings." I had no need for those. At a later date I may make a set, just so I can post some download files. When the files are ready you will see a "downloads" in the right blog column. Hope they help.


 RSS Feed